SAURUS Tools & Checklists
Printable mental checklists for six fuses, generator power, gate escape, and pre-run settings.
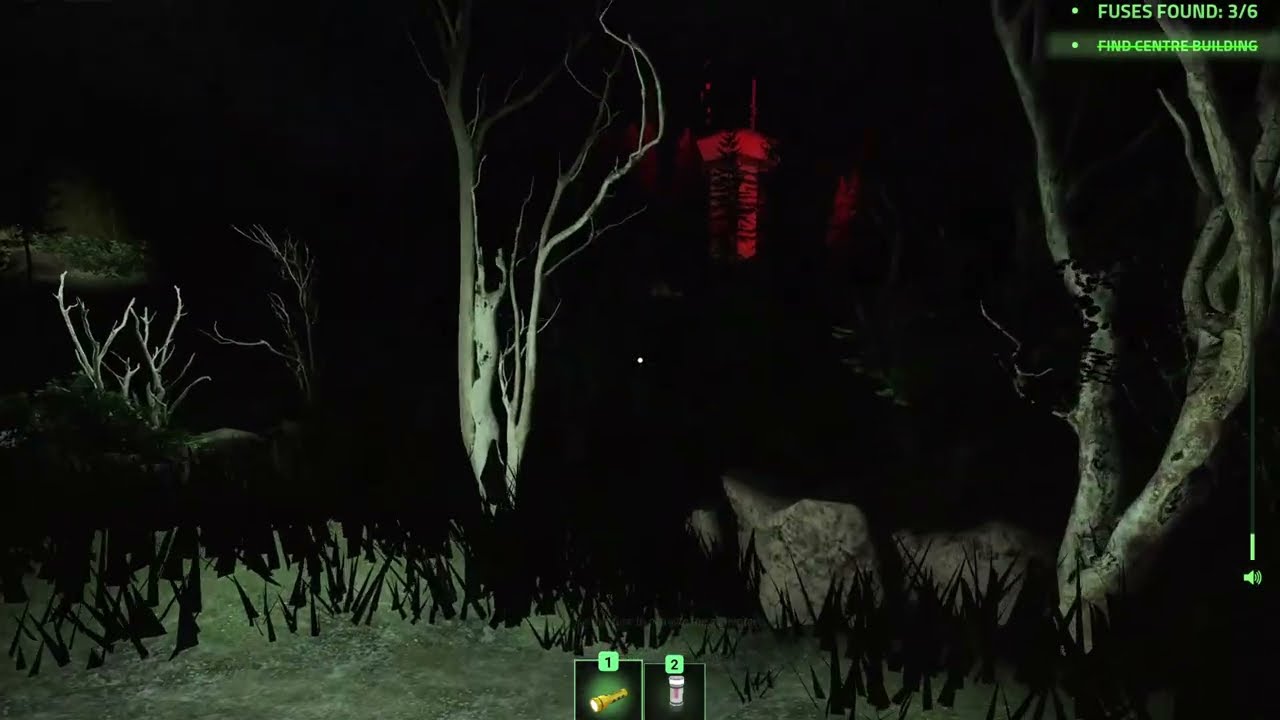
This Tools Hub is a textual run checklist for SAURUS [HORROR]. It is not a script and not an overlay hack—just a disciplined sheet you can mirror on a second monitor, a phone note, or a scrap of paper beside your keyboard. Pegasi Games built a short enclosure loop that punishes missed steps more than missing “secret” tech. Use the lists below before every solo or co-op attempt.
Deep routes still live in Guides: Fuse Locations, How to Escape, Survive the Dinosaurs, Scent Mounds, Bear Traps, Enclosure Map, and Challenge Mode. Solo pacing sits in Solo Tips; co-op roles belong under Co-op Tips.
Pre-run settings checklist
Complete this block before you press Play on a serious attempt.
- Headphones on — Pegasi recommends them; footsteps and roars are information.
- Graphics toward max — silhouette reads and laptop glow matter in the dark reserve; raise brightness slightly if shadows hide traps.
- Shadows readable — prefer settings where grass metal jaws and laptop screens stay visible without washing out the red beacon.
- Volume balanced — loud enough for stomps, not so loud that screen-shake peaks clip your hearing.
- Party size agreed — solo, duo, or up to five; roles called if 2+.
- Challenge modifiers reviewed — none for learning runs; stack only when the standard clear is clean.
- Device / binds smoke-tested — especially on Xbox or controller after community input reports.
- Wiki tabs ready — fuse map, survival tips, escape timing if you are teaching friends.
Skipping settings is how “we know the map” lobbies still wipe to a silent Carnotaurus.
Six-fuse mental checklist
Track fuses as a shared counter, not vibes. Tick aloud after every pickup and every insert.
| Slot | Mental label | Typical beat |
|---|---|---|
| Fuse 1 | Spawn / early table | White folding table near start path |
| Fuse 2 | Center Building table | Generator room companion pickup |
| Fuse 3 | Outer trail A | Laptop glow along perimeter brush |
| Fuse 4 | Outer trail B | Desk under dead trees / ridge |
| Fuse 5 | Outer trail C | Second perimeter workstation |
| Fuse 6 | Final outer or flex | Last case before 100% push |
Runner script
- Confirm
0/6on the objective tracker when the door opens. - Secure early easy pickups without tunnel visioning past traps.
- Deliver to the yellow generator in batches when the road is hot.
- Call empty tables so teammates do not re-clear dead stations.
- Never end a life holding the last fuse in open grass if a healthy teammate can finish the insert.
Exact world positions shift slightly with panic and path choice—verify against Fuse Locations when you are learning, then return to this checklist for live discipline.
Yellow generator percent checklist
The generator is the party scoreboard. Treat percent as law.
- Locate the yellow generator in the Center Building back room.
- Note the six-socket receiver and the fuse progress bar.
- Insert early Center Building fuses to jump the bar (often into the low thirties).
- After each insert, call the new percent and remaining fuse count.
- Keep the insert prompt clear—one specialist, not five bodies blocking.
- Hold inserts if the dinosaur is filling the doorway; wait for a lookout “clear.”
- At 100% / Power Restored, stop looting. Objective flips to escape.
If your lobby argues during a 83%→100% stretch, you are already losing time to patrol cycles. Collapse escorts and finish.
Escape gate checklist
Use this the moment power completes.
- Specialist announces gate open / 100% on voice or chat.
- Entire alive squad leaves the generator room together.
- Take the main dirt road toward the outer concrete wall—do not invent scenic routes.
- Watch for last-second predator cuts across the road; hug cover only if a charge is confirmed.
- Cross the lifted blast door into the exit tunnel without stopping for screenshots.
- After the win, note wipe causes for the next run (traps, splits, mute audio, bad inserts).
Full narrative timing sits in How to Escape. This Tools page exists so you can execute without rereading a novella mid-chase.
Co-op overlay checklist (2–5 players)
Paste into party chat if needed:
- Generator specialist: _____
- Fuse runners: _____
- Lookout: _____
- Split after Center Building? Yes / No
- Modifiers on? List: _____
- Revive rule: secure fuse progress first / always revive
Details and “when not to split” logic are expanded in Co-op Tips and the Players Hub.
Hazard micro-checklist
Run this as a repeating loop every time you leave a building:
- Flashlight aimed low enough to spot bear traps
- Ears open for stomp cadence before crossing clearings
- Scent mound used when the hunter is sticky
- Doorway hold if the predator is on the porch
- No sprint spam through unscouted grass
Pair with Survive the Dinosaurs when a new AI pass changes how sticky the T-Rex or Carnotaurus feels.
Challenge modifier prep strip
Before enabling rewards-hungry modifiers:
- Clean standard escape already completed this session
- Roles assigned (do not improvise under stacked intensity)
- Accept longer generator holds and fewer greedy splits
- Agree on abort conditions (two early downs = reset learning run)
Read Challenge Mode for modifier intent; use this strip so greed does not outrun preparation.
After-action review (two minutes)
Wins and losses both deserve a tiny review:
- Which fuse slot took longest?
- Did percent callouts stay honest?
- Did anyone split when the checklist said not to?
- Were headphones / graphics actually set?
- Any suspected patch change worth checking on the Updates Hub?
Write one line in your note file. Patterns beat memory after a week of horror sessions.
How to “print” this tool
- Copy the checkbox sections into Notion, Google Keep, or a plain text file.
- Keep only Pre-run, Six-fuse, Generator, and Escape blocks on a second monitor for ranked-feeling nights.
- Laminate a paper version for couch co-op if your squad shares a living room screen.
The Tools Hub will grow if Pegasi adds timers, new species, or modifier categories that need fresh strips. Until then, this fuse-and-gate checklist is the highest leverage “tool” a SAURUS player can run—because the enclosure already gives you every interactable you need; discipline is the missing UI.
Frequently Asked Questions
Quick answers for SAURUS survivors.
Is this an in-game tool or overlay?
No. It is a textual checklist you keep beside the game—phone notes, paper, or a second monitor. It does not modify Roblox clients.
What should I check before every SAURUS run?
Headphones, graphics, party roles, challenge modifiers, and a quick binds smoke test—especially on controllers—before hunting the six fuses.
How do I track the six fuses live?
Use the slot table on this page and call count plus generator percent after every pickup and insert so the lobby shares one number.
When do I switch from fuse checklist to escape checklist?
The instant the yellow generator hits 100% power. Stop looting, announce gate open, and sprint the main dirt road as a group.