SAURUS Scent Mounds Guide
Mask odor on muddy dung heaps, time the temporary stealth window, and pair scent with doorways and crouch routes.
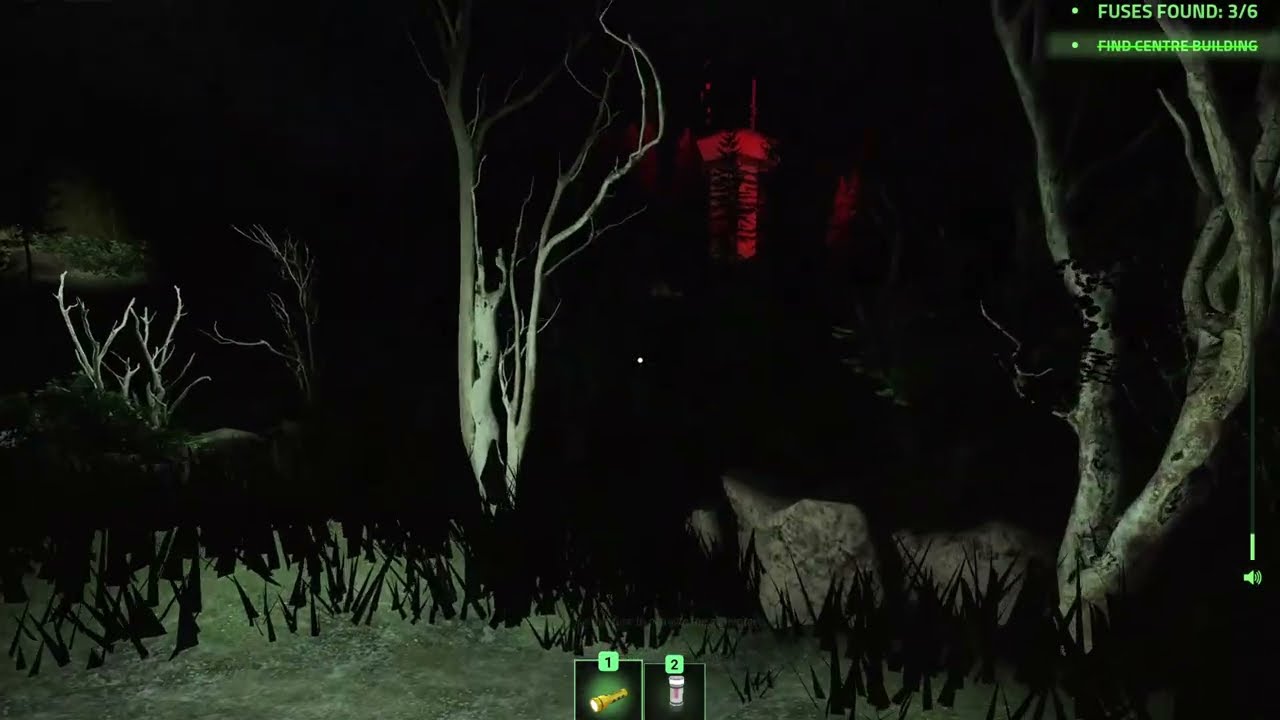
Scent mounds are one of the few tools in SAURUS [HORROR] that let you push a dark trail when a T-Rex or Carnotaurus is already hunting by smell. Pegasi Games scatters muddy dung heaps along ridgelines and thickets; approaching one brings up an [E] Mask scent style interact on PC. This page is the deep dive for that mechanic. Pair it with the broader predator toolkit on Survive Dinosaurs, the workstation route on Fuse Locations, and the full clear on How to Escape.
If you are still learning the enclosure shape, skim the landmark walk on Enclosure Map first so you know which ridgelines and pine corridors actually host mounds.
What a scent mound is
A scent mound looks like a muddy dung heap on the forest floor—dark, low, easy to miss if your flashlight is pointed at the sky. It is not a fuse case and not a trap. When you get close enough, the interact prompt appears. Pressing it masks your character’s odor for a temporary window so dinosaurs have a harder time tracking you by smell.
That window is temporary camouflage, not permanent invisibility. Line of sight still matters. Loud sprinting still matters. Standing still after masking wastes the only reason you spent the interact. Treat the mound like a short buff that buys a crossing, a return to the Center Building, or a limp home after a mistake.
Where mounds tend to appear
Players reliably find scent mounds along:
- Ridgeline paths near elevated workstations (especially the Fuse #5 style sweep)
- Thickets and pine brush edges on darker perimeter trails
- Approaches where you must re-enter a camped compound after an outer pickup
They are less useful—and less common—as a panic button inside the Center Building itself. Interiors already act as shelter; save mound interacts for the exposed dirt between landmarks. Use parked white utility jeeps and the tall red beacon as mental breadcrumbs so you can remember which thicket held a mound on the last attempt.
Exact pile placement can flex slightly between runs, but the teaching habit stays the same: when you leave the side fence gate for outer fuses, scan ground clutter for muddy heaps the same way you scan for laptop glow.
When to mask scent
Mask before the dangerous segment, not after you are already silhouetted in the open yard. High-value moments:
- Before a long ridgeline crossing while carrying Fuse #5 or a stack of outer fuses.
- Before re-approaching a Center Building that a dinosaur is circling.
- After a noisy event—bear-trap snap, panic sprint, or a character line about being too loud—when you still have a mound on the path home.
- Before a co-op escort across a valley clearing when the lookout calls stomps nearby.
Do not burn a mound the second you see it if the next thirty seconds of path are already sheltered by rock walls or buildings. Save the interact for the stretch that would otherwise be a free sniff for the hunter.
How long the window feels
There is no permanent “stealthed forever” state. The mask buys a short practical window—long enough to commit to a trail segment, reach a doorway, or slip along chainlink—but short enough that lingering or AFK posing will leave you exposed again. Play as if the buff expires the moment you hesitate.
During the window:
- Move with a destination (jeep, beacon, side gate, generator corridor)
- Prefer crouch along fences when the yard is watched
- Keep the flashlight low so you do not trade scent safety for a bear-trap clamp
- Do not stop mid-clearing to rearrange hotbar cosmetics
If the dinosaur already has hard line of sight in an open compound approach, scent alone will not save a bad peek. Combine tools: mask, then doorway wait, then exit when the pale predator turns behind fencing.
Combo with doorways and crouch
Scent mounds shine when stacked with the rest of the survival kit described on Survive Dinosaurs:
- Doorways — Mask on the trail, enter the Center Building, then door-check before you leave again. The mound covers the approach; the doorway covers the exit timing.
- Crouch along chainlink — Late-run dinosaurs glue themselves to the compound. Mask outside, crouch the fence line until the beast shows its back, then slip the double doors for a deposit.
- Bear-trap discipline — A clamp after masking still slows you and can refresh aggro interest. Sweep grass with a low beam even while stealthed; see Hazards: Bear Traps.
Think of scent as the odor layer, buildings as the line-of-sight layer, and crouch as the silhouette layer. Skipping any layer because “I just masked” is how clean 83% runs die on the final insert.
Common mistakes
Standing still after masking. The most common waste. Players interact, watch the UI, and wait in place as if the mound were a safe zone. It is not. Move.
Masking in the open while a dinosaur stares. Odor break does not cancel a free visual. Break line of sight first when possible, then mask for the next push.
Skipping early fuse banks because you feel stealthed. Even with mounds, deposit at ~33% and again near ~83% per Fuse Locations. A masked death with three unbanked fuses is still a wipe of progress.
Ignoring audio. Stomps and roars still tell you when to abort a crossing. Headphones help; Pegasi recommends them for a reason.
Forcing Fuse #1 or the front doors under spawn camp pressure. If a hunter is already staring at the cage mouth or front approach, wait for the turn or use a side gate—scent is support, not a suicide permit.
Solo versus co-op scent habits
Solo players should build a personal rhythm: listen → mound if available → cross → door → deposit. Never skip the listen step after a pickup. Landmark memory (beacon, jeeps, pine brush, dead trees) keeps you from burning mounds while lost. Solo pacing notes live on Solo Tips.
In co-op (up to five), call mound uses out loud so two runners do not stack on the same heap while nobody watches the road. Assign a lookout whose job is dinosaur facing direction; the masked runner’s job is to deliver fuses, not to narrate every interact. Party role ideas sit under Co-op Tips.
Challenge Mode keeps the same mound tools under heavier pressure—read Challenge Mode after normal clears feel stable.
Practice loop
- Clear spawn Fuse #1 and bank 33% without relying on scent.
- On the first outer loop, intentionally find one ridgeline or thicket mound and mask before a long crossing.
- Return via doorway timing, not a blind sprint.
- Repeat until masking-then-moving feels automatic.
Related guides
- Survive Dinosaurs — full predator toolkit
- Hazards: Bear Traps — ground clamps that ruin masked crossings
- Fuse Locations — where the route forces exposed walks
- How to Escape — when to commit after Power Restored
- Enclosure Map — landmark chain for finding mounds again
- Solo Tips — one-player pacing with scent discipline
- Guides Hub — full walkthrough index
Master scent as a timed tool, not a comfort blanket. SAURUS rewards the survivor who masks, commits, and banks power before the window ends.
Frequently Asked Questions
Quick answers for SAURUS survivors.
How do you use scent mounds in SAURUS?
Approach a muddy dung heap on a ridgeline or thicket until the Mask scent interact appears, press it (E on PC), then move immediately during the temporary odor-mask window.
Does masking scent make you invisible?
No. It temporarily reduces odor tracking. Dinosaurs can still see you in open yards, and loud movement or traps can still end the run.
When should I mask scent?
Before long exposed crossings, before re-entering a camped Center Building, or after a noisy trap snap—never as an excuse to stand still in place.
Where do scent mounds usually spawn?
Along ridgelines and thickets on perimeter trails, especially near outer fuse sweeps. Use them with the landmark route on the Enclosure Map guide.